When it comes to working with natural stone, knowing how to install it properly is just as important as choosing the right material. Whether you’re using limestone tiles or marble tiles, the method of installation and the pattern you select will significantly impact the final look and feel of your space.
When it comes to working with natural stone, knowing how to install it properly is just as important as choosing the right material. Whether you’re using limestone tiles or marble tiles, the method of installation and the pattern you select will significantly impact the final look and feel of your space.
In this natural stone installation and patterns guide, you’ll discover essential techniques and layout styles that help you bring out the full charm and durability of your stone. Each pattern introduces a different rhythm, texture, and visual effect, offering endless possibilities to personalize your design.
Stone Installation Patterns
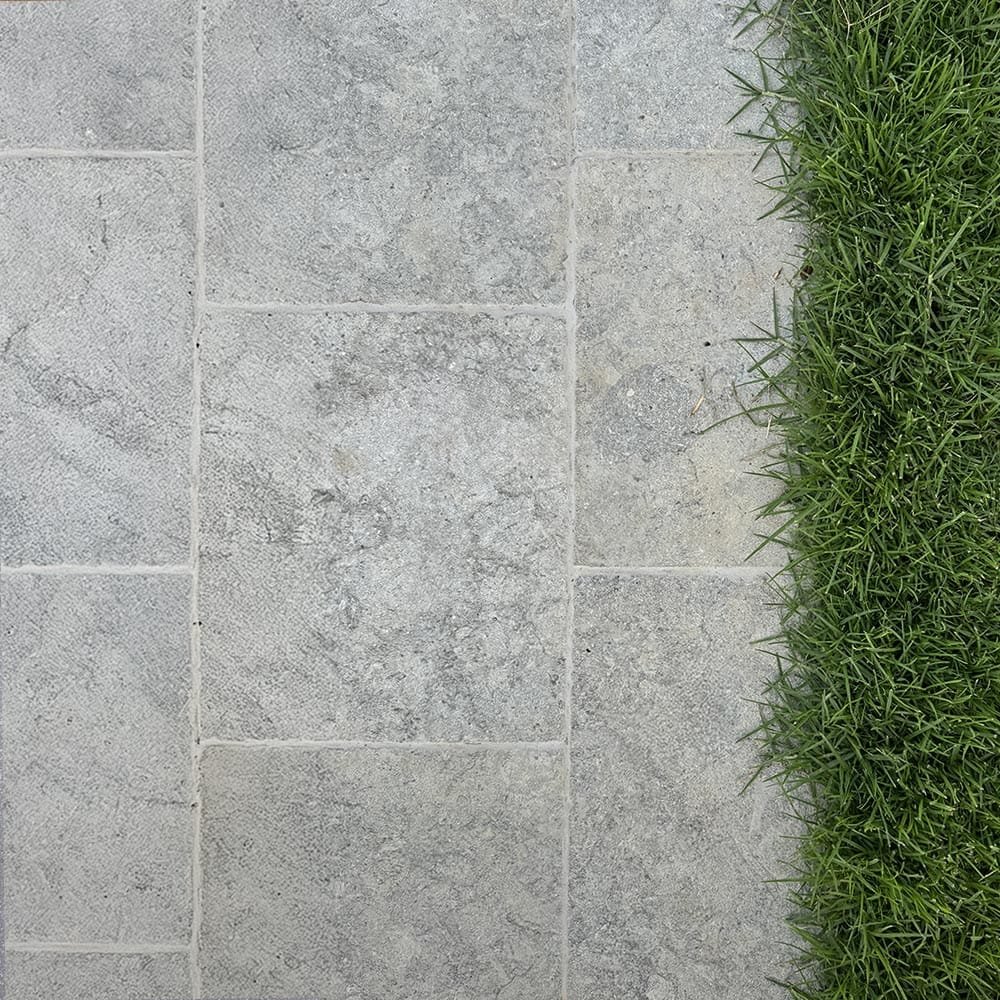
Choosing the right pattern adds style and enhances the overall perception of space. Here are the most common and timeless natural stone installation patterns, used for flooring, outdoor paving either with limestone, marble or travertine.
French Pattern (Versailles Pattern)
An irregular arrangement of formats that creates a chic country look, perfect for exteriors and large spaces.
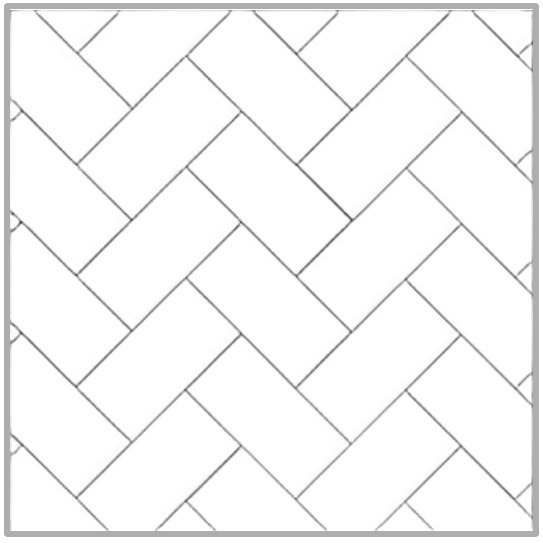
Herringbone Pattern
Chevron pattern, often used for walls or kitchen floors. It adds a touch of modern sophistication.
Regular Pattern (Random lengths)
A simple, uniform pattern, perfect for modern spaces. It provides a clean look and visually enlarges the room.
Basket Weave Pattern
This pattern gives the illusion of interwoven strips, often used in small water closets or entrances.
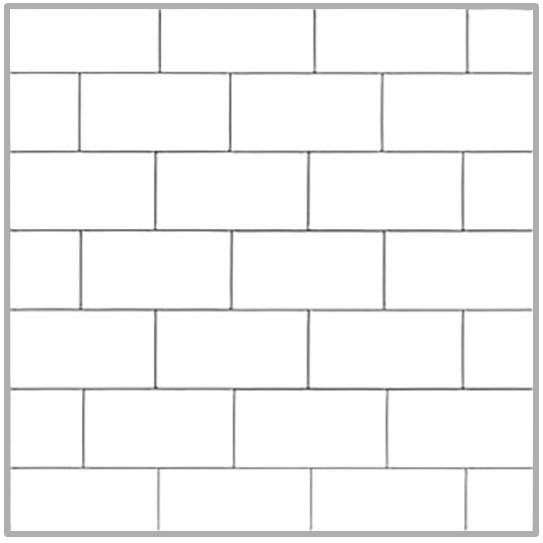
Running Bond (Offset) Pattern
Also called ‘brick pattern,’ this pattern mimics the appearance of bricks. Classic but works in any space.
Grid Pattern (Stacked Bond)
The tiles are vertically and horizontally aligned, creating a crisp and contemporary look.
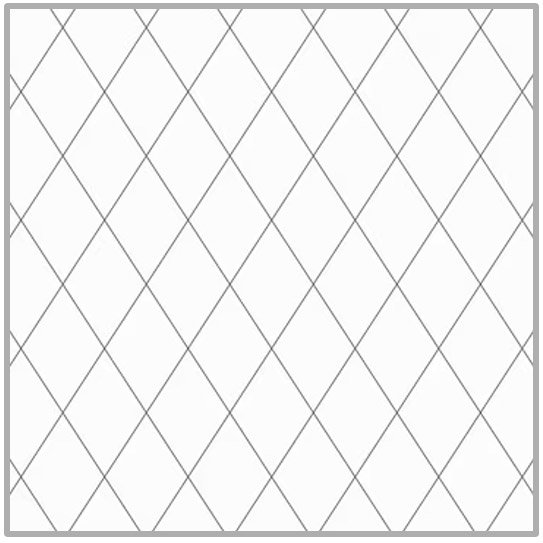
Diamond Pattern
The tiles are set diagonally, usually at 45°. This pattern adds movement and is perfect for breaking monotony.
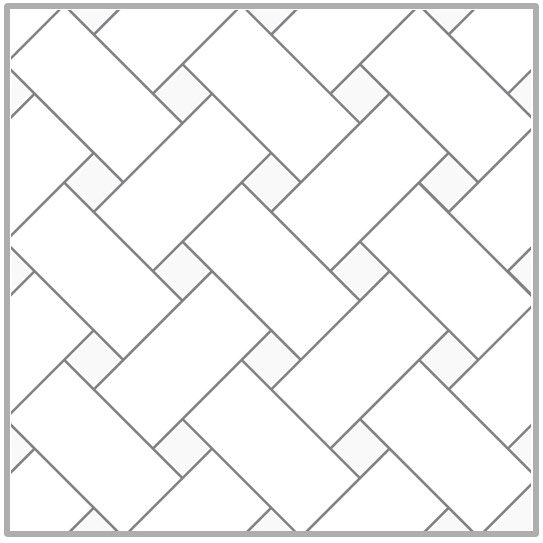
Chevron Pattern
Similar to herringbone, the tiles are cut at an angle. The effect is more fluid and elegant.
Natural Stone Installation Guide
Proper natural stone installation is key to ensuring the longevity and aesthetics of your project. Unlike synthetic materials, limestone, marble, and other natural stones require careful handling and thoughtful preparation to reveal their true potential.
Here are the main steps recommended for a successful installation:
Surface Preparation
The substrate must be clean, level, and stable. For outdoor installations, a compacted base with proper drainage is essential to prevent shifting or water damage.
Layout Planning
Before starting, lay out a dry run of your tiles to understand the flow of the pattern, avoid narrow cuts at edges, and plan for natural color variation between stones.
Use of the Right Adhesives and Mortars
Natural stone should be installed using high-quality adhesives or mortar suited to the material and the location (interior vs. exterior). Pay attention to the stone’s porosity, especially with limestone tiles.
Grouting and Joint Selection
Joint width and color play a big role in the final look. Wider joints offer a rustic feel, while thinner lines are best for a modern look. Always use a non-staining grout for marble tiles and lighter limestones.
Sealing the Stone
Once installed, sealing is highly recommended, especially for limestone and marble, to protect from stains, water absorption, and to ease maintenance. We recommend Fila solutions, trusted, effective, and easy to apply, for long-lasting protection and natural stone care. Got questions? Just reach out, we’re always happy to help.
Cleaning and Maintenance
Use pH-neutral cleaners and avoid acidic products that could damage natural stone. Regular maintenance helps preserve the beauty and texture of the stone.